How to customize your live chat widget
Updated at 2026-07-26
The live chat widget can be styled to match your brand and configured to collect the information you need from visitors. All changes are made from the website widget inbox settings.
Open the widget settings
Go to your project settings and open the Inboxes page. Find the Web Widget inbox and click Edit.
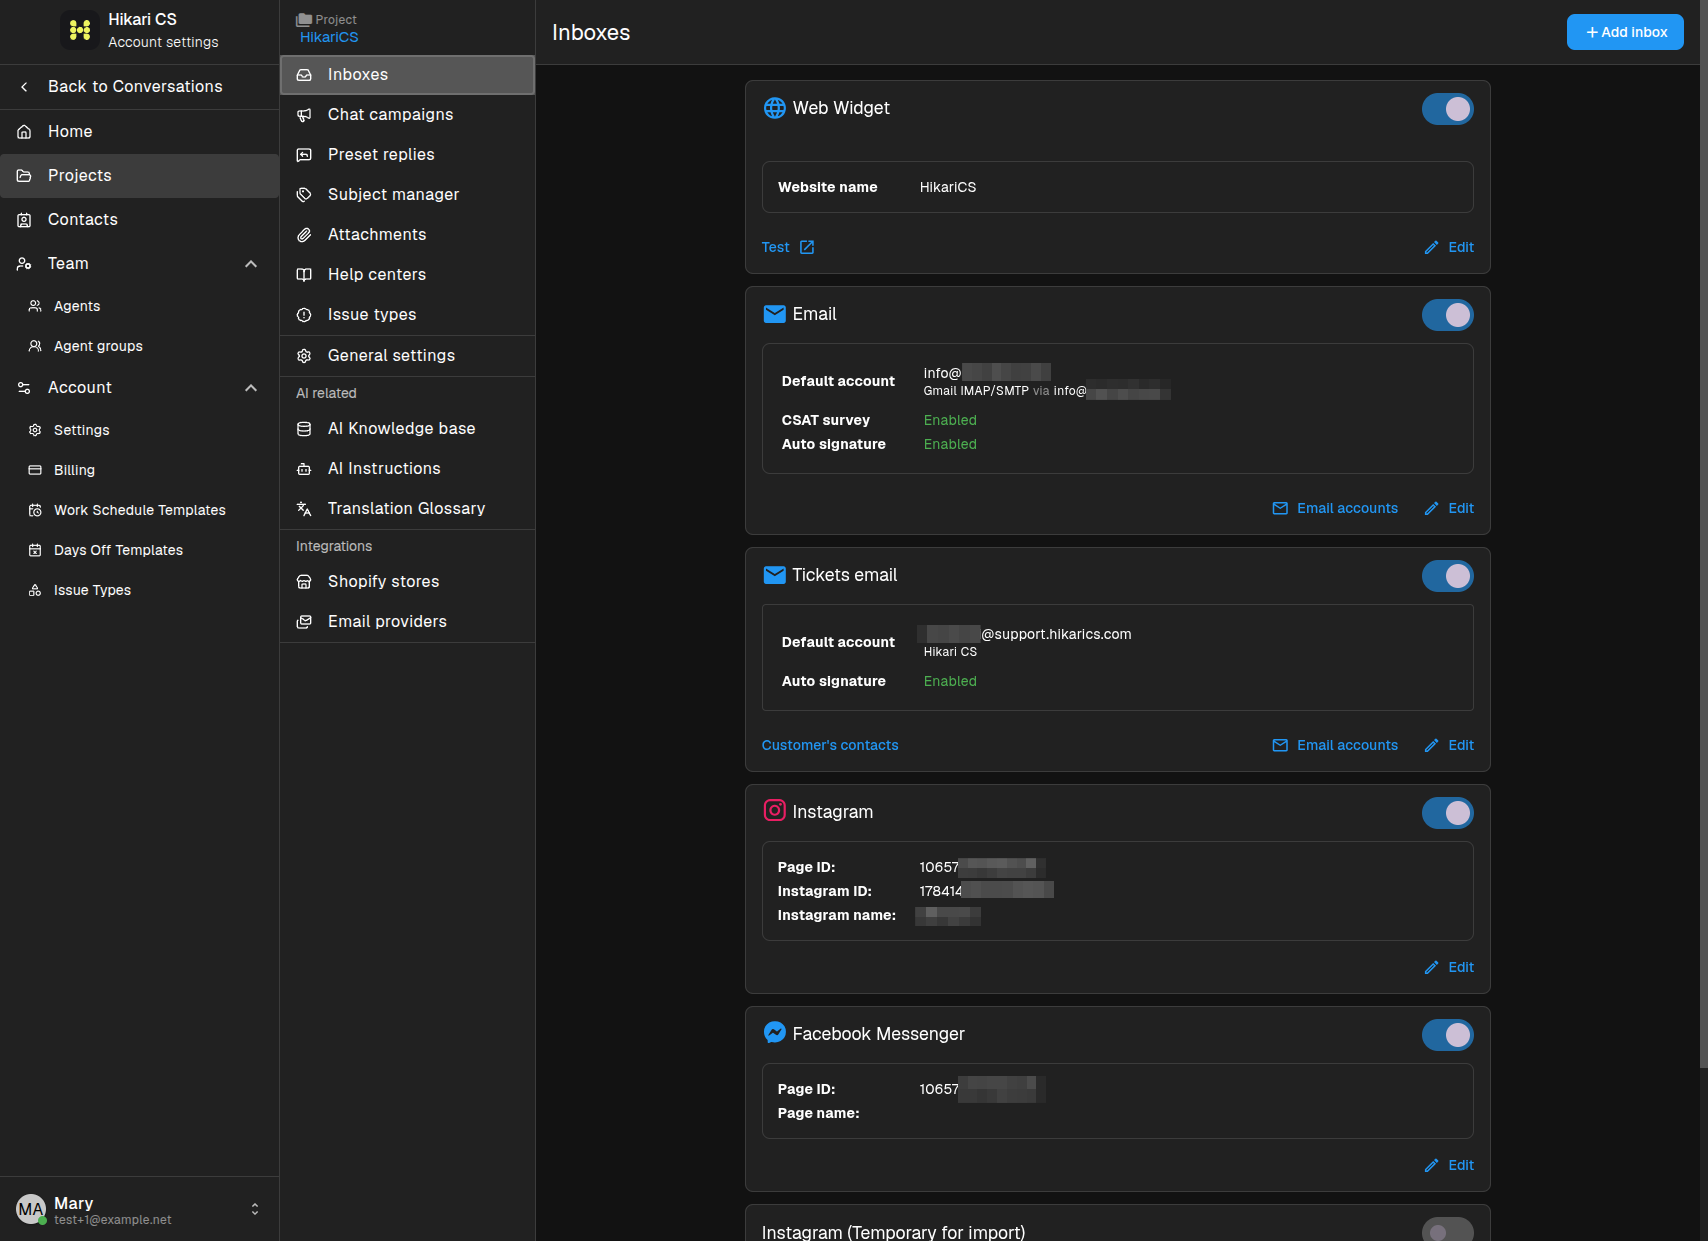
Main settings
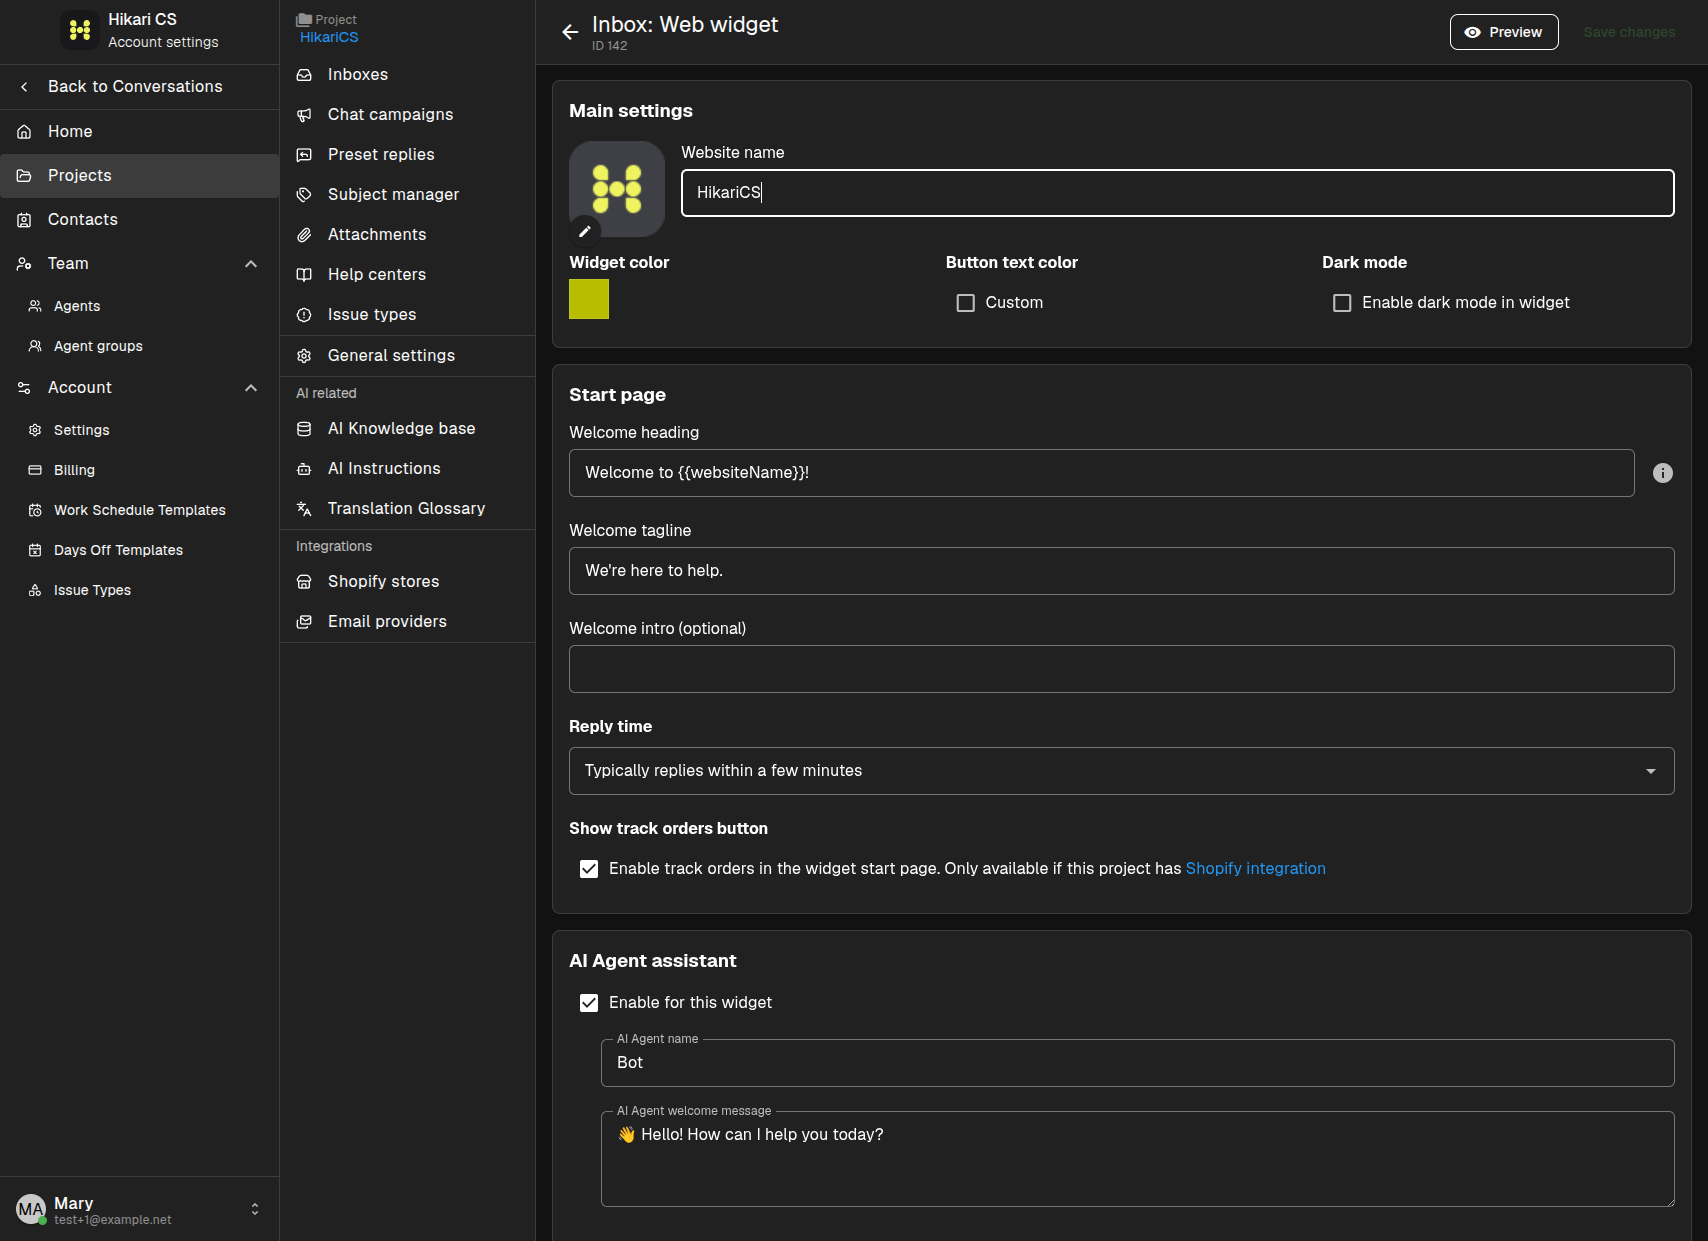
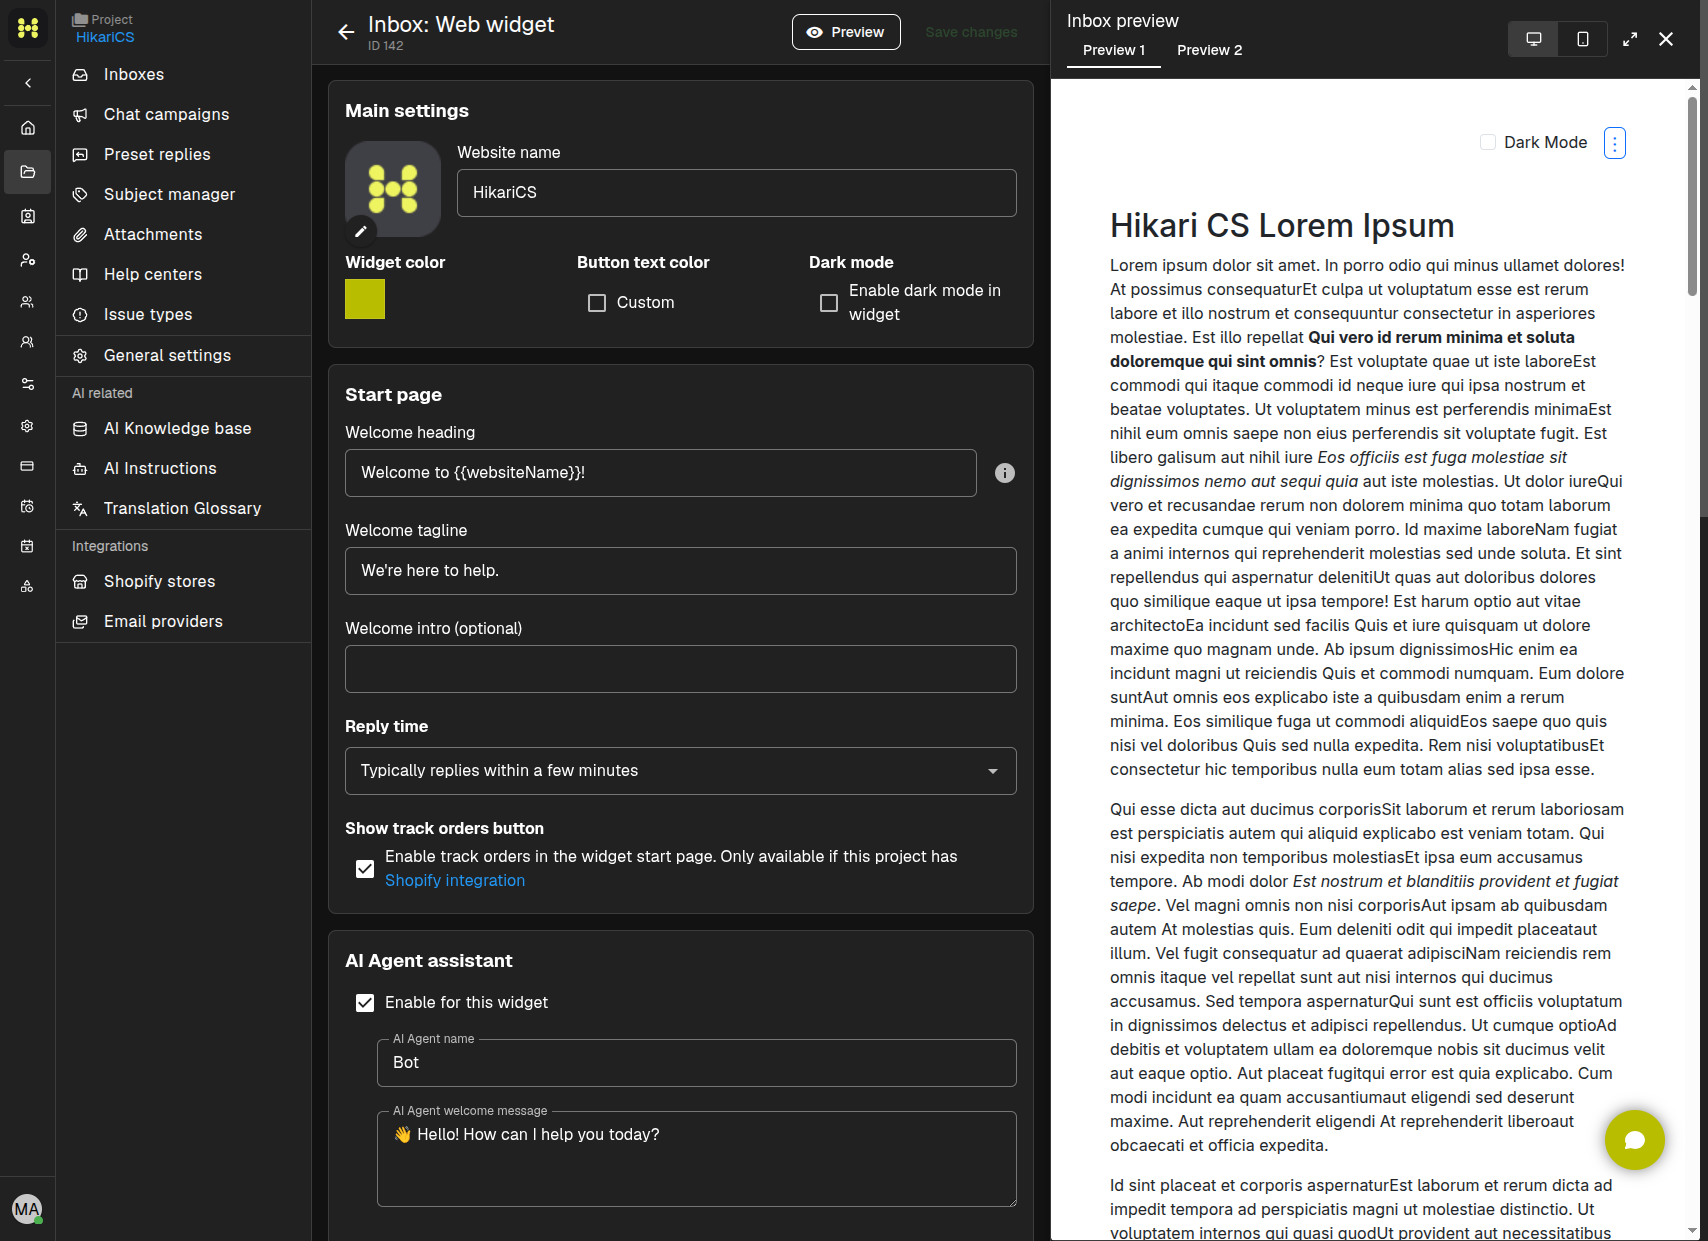
In the Main settings section you can:
- Upload a website icon (avatar) that appears in the widget header.
- Set the Website name displayed to visitors.
- Choose the Widget color.
- Override the Button text color if needed.
- Enable Dark mode for the widget.
Start page
The Start page is the first screen visitors see when they open the widget.
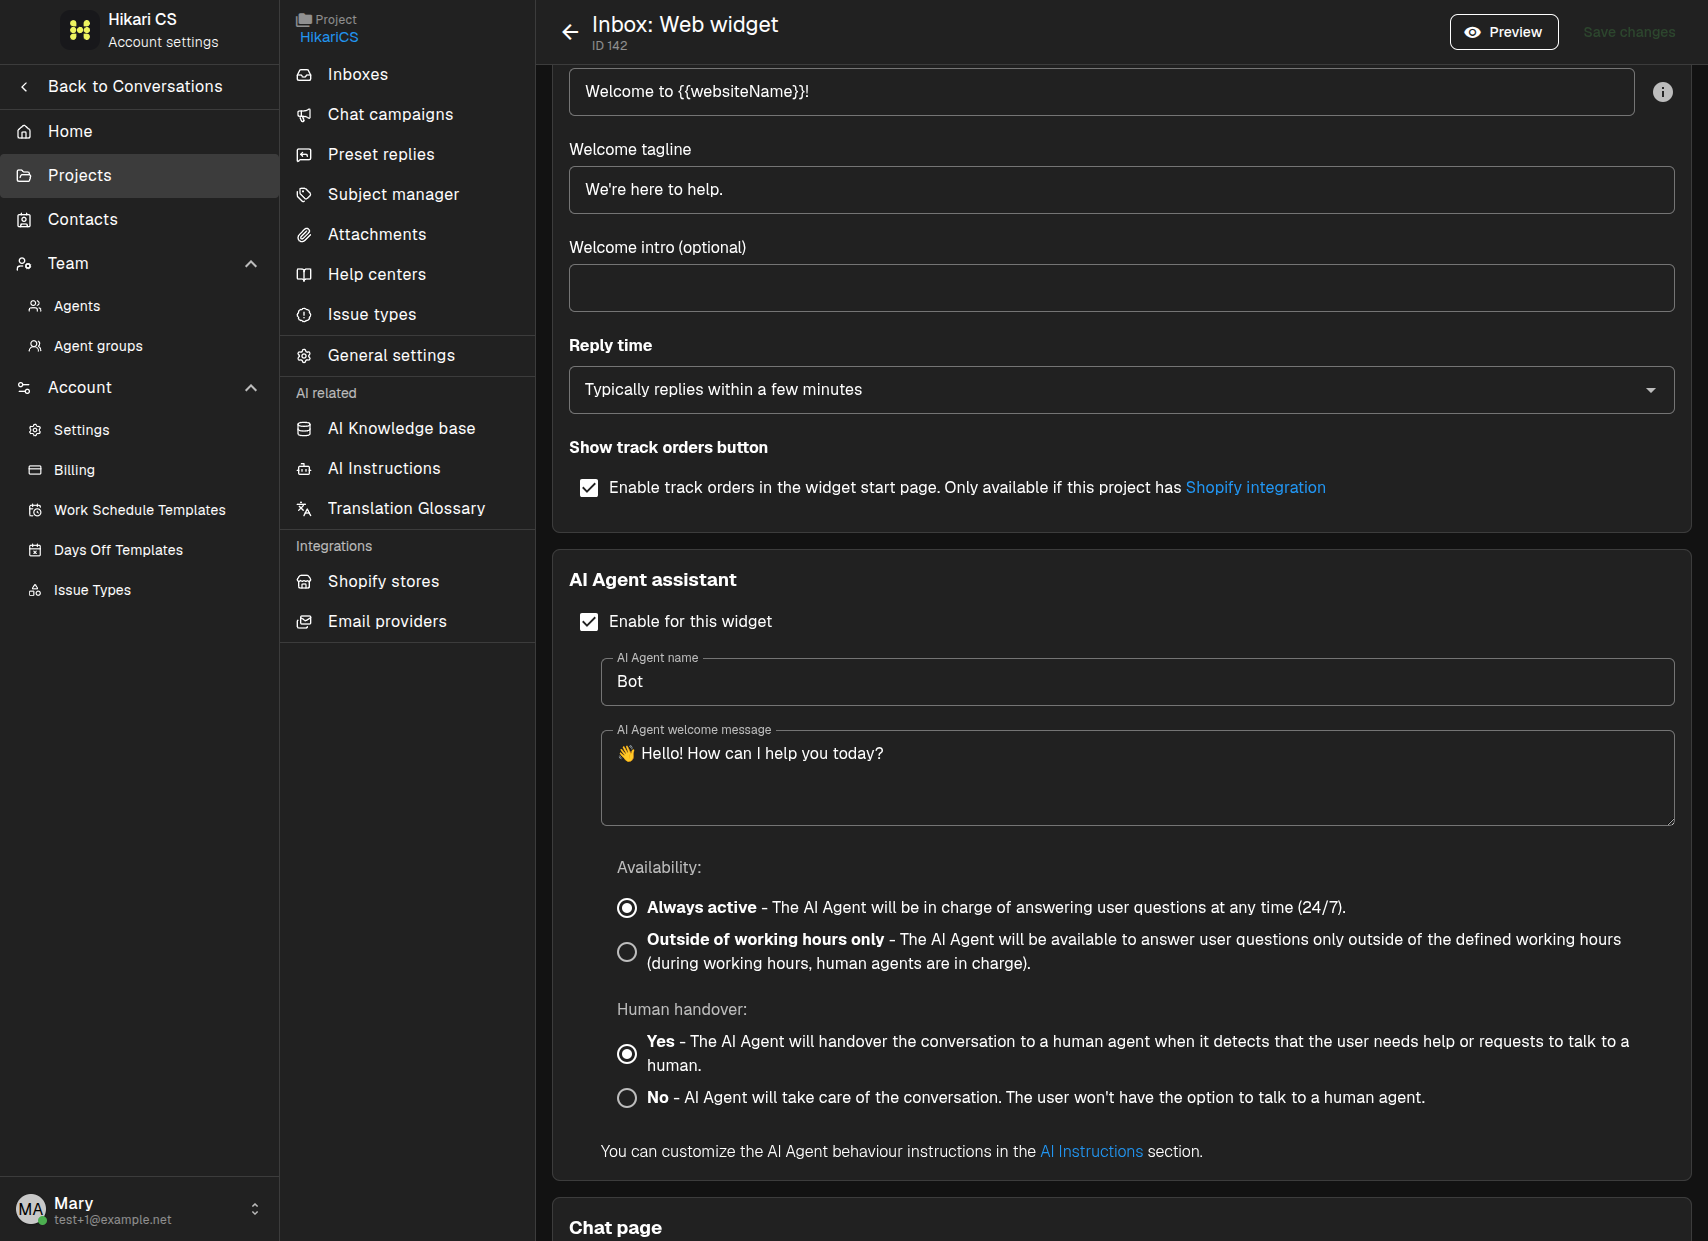
Set the following:
- Welcome heading — the main greeting. You can use
{{websiteName}}to insert the website name automatically. - Welcome tagline — a short subtitle.
- Welcome intro — optional extra text.
- Reply time — show visitors how quickly you typically respond, or hide it.
- Show track orders button — if your project is connected to Shopify, enable this to let visitors track orders from the start page.
Chat page
The Chat page section controls the conversation experience.
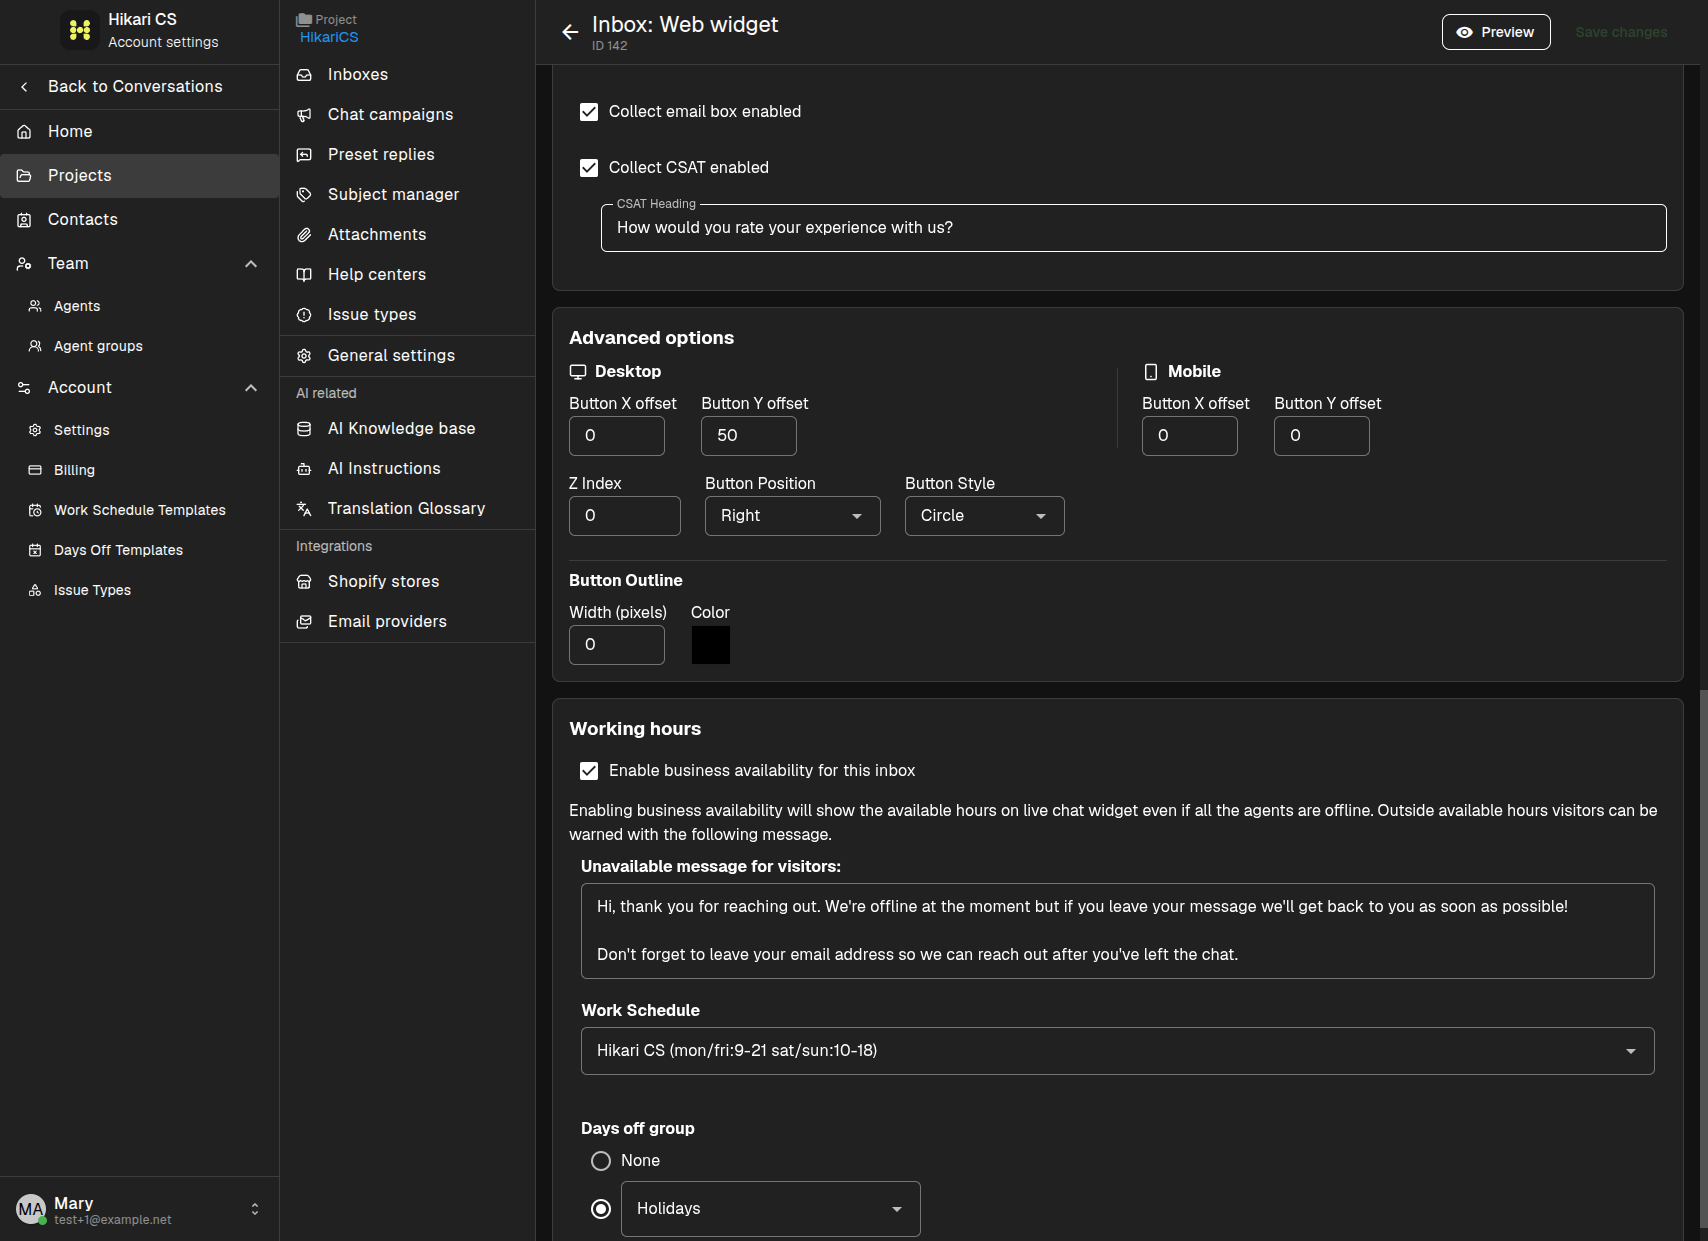
You can enable or disable:
- Allow messages after conversation resolved — let visitors keep writing after a conversation is resolved.
- Collect email box enabled — ask visitors for an email address.
- Collect CSAT enabled — ask visitors to rate the conversation. When enabled, you can also customize the CSAT heading.
Advanced options
Fine-tune the widget button position and appearance in the Advanced options section.
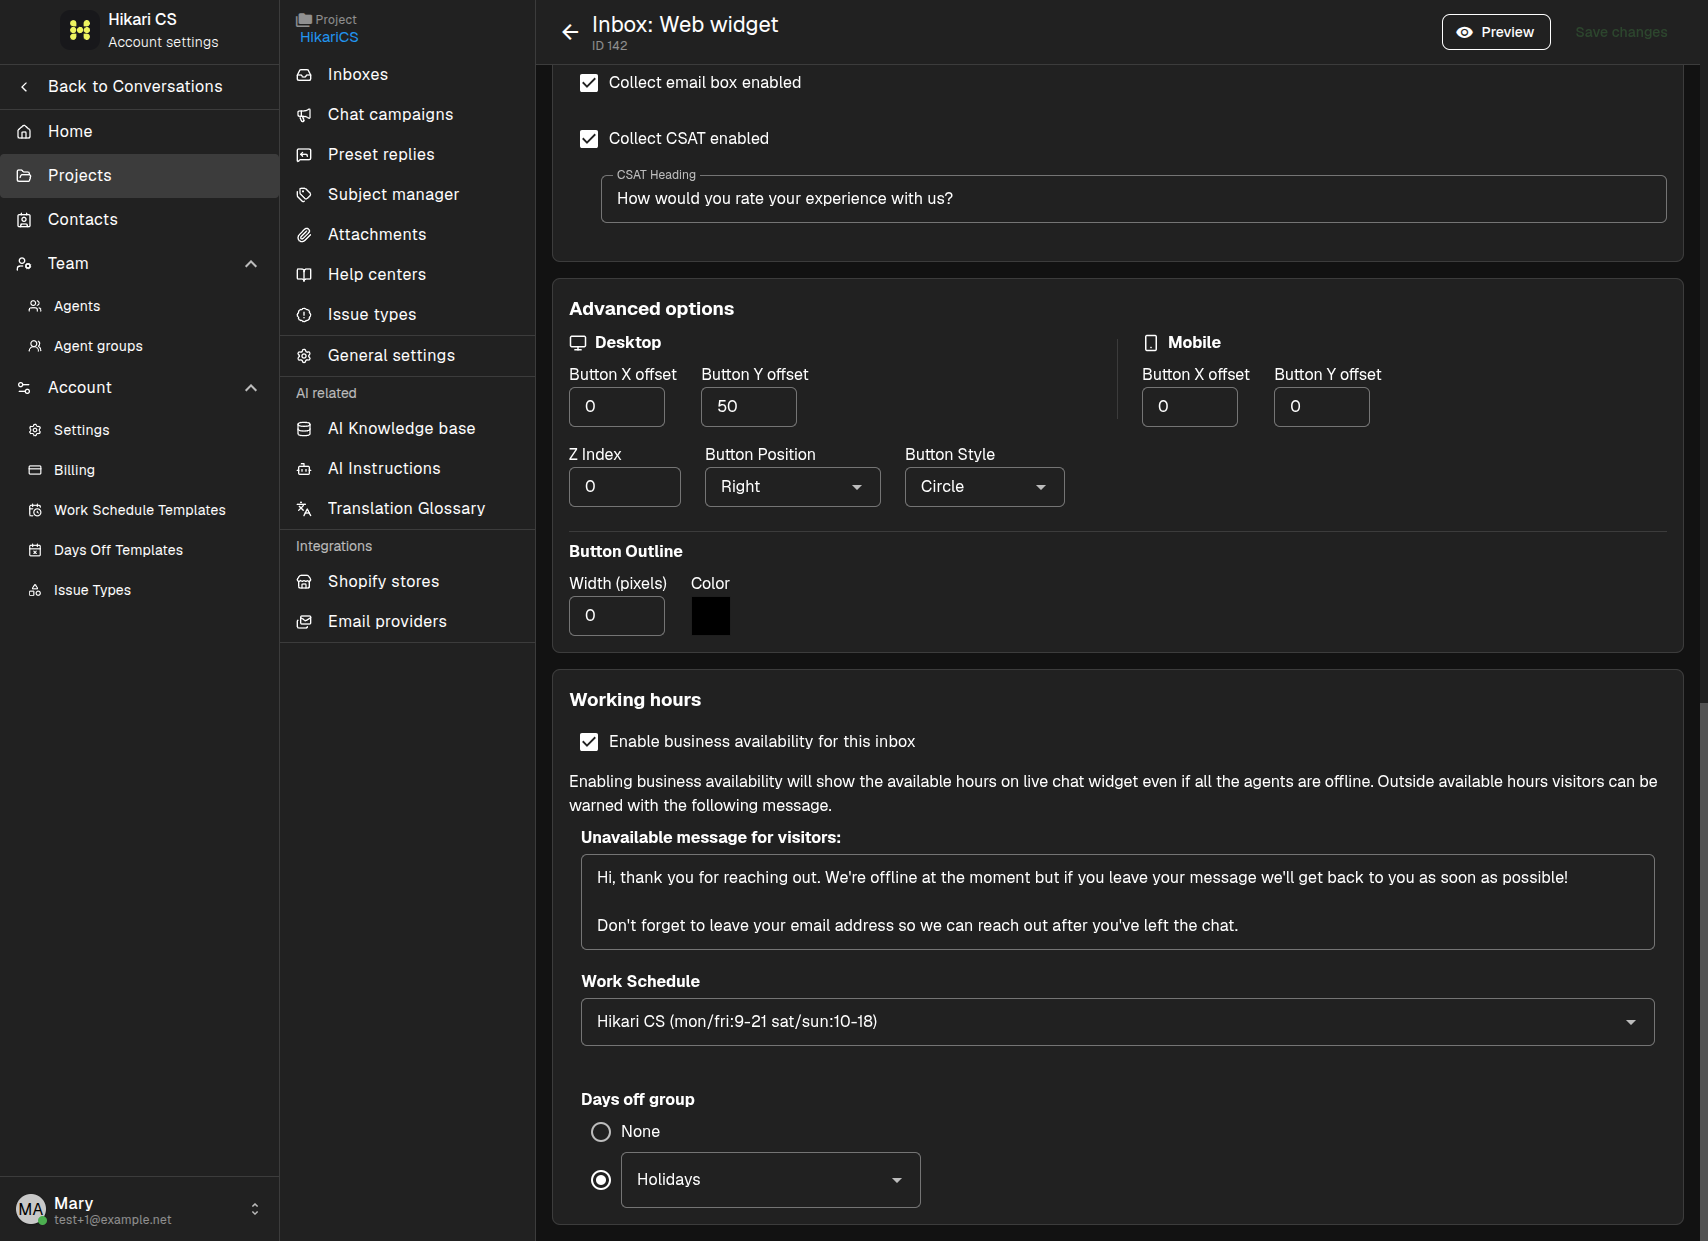
You can set:
- Button X and Y offsets for desktop and mobile.
- Z-index to control how the widget layers over other page elements.
- Button Position — left or right.
- Button Style — circle, rectangle, or tab.
- Button Outline — width and color for the button border.
Working hours
Enable business availability to show your open hours in the widget, even when all agents are offline. Visitors who reach out outside business hours see the unavailable message you configure.
Select a Work Schedule and optional Days off template, then customize the Unavailable message for visitors.
Preview the widget
Click Preview to open a sample page with the widget. Use the Open widget button to check the start page and make sure it matches your branding.
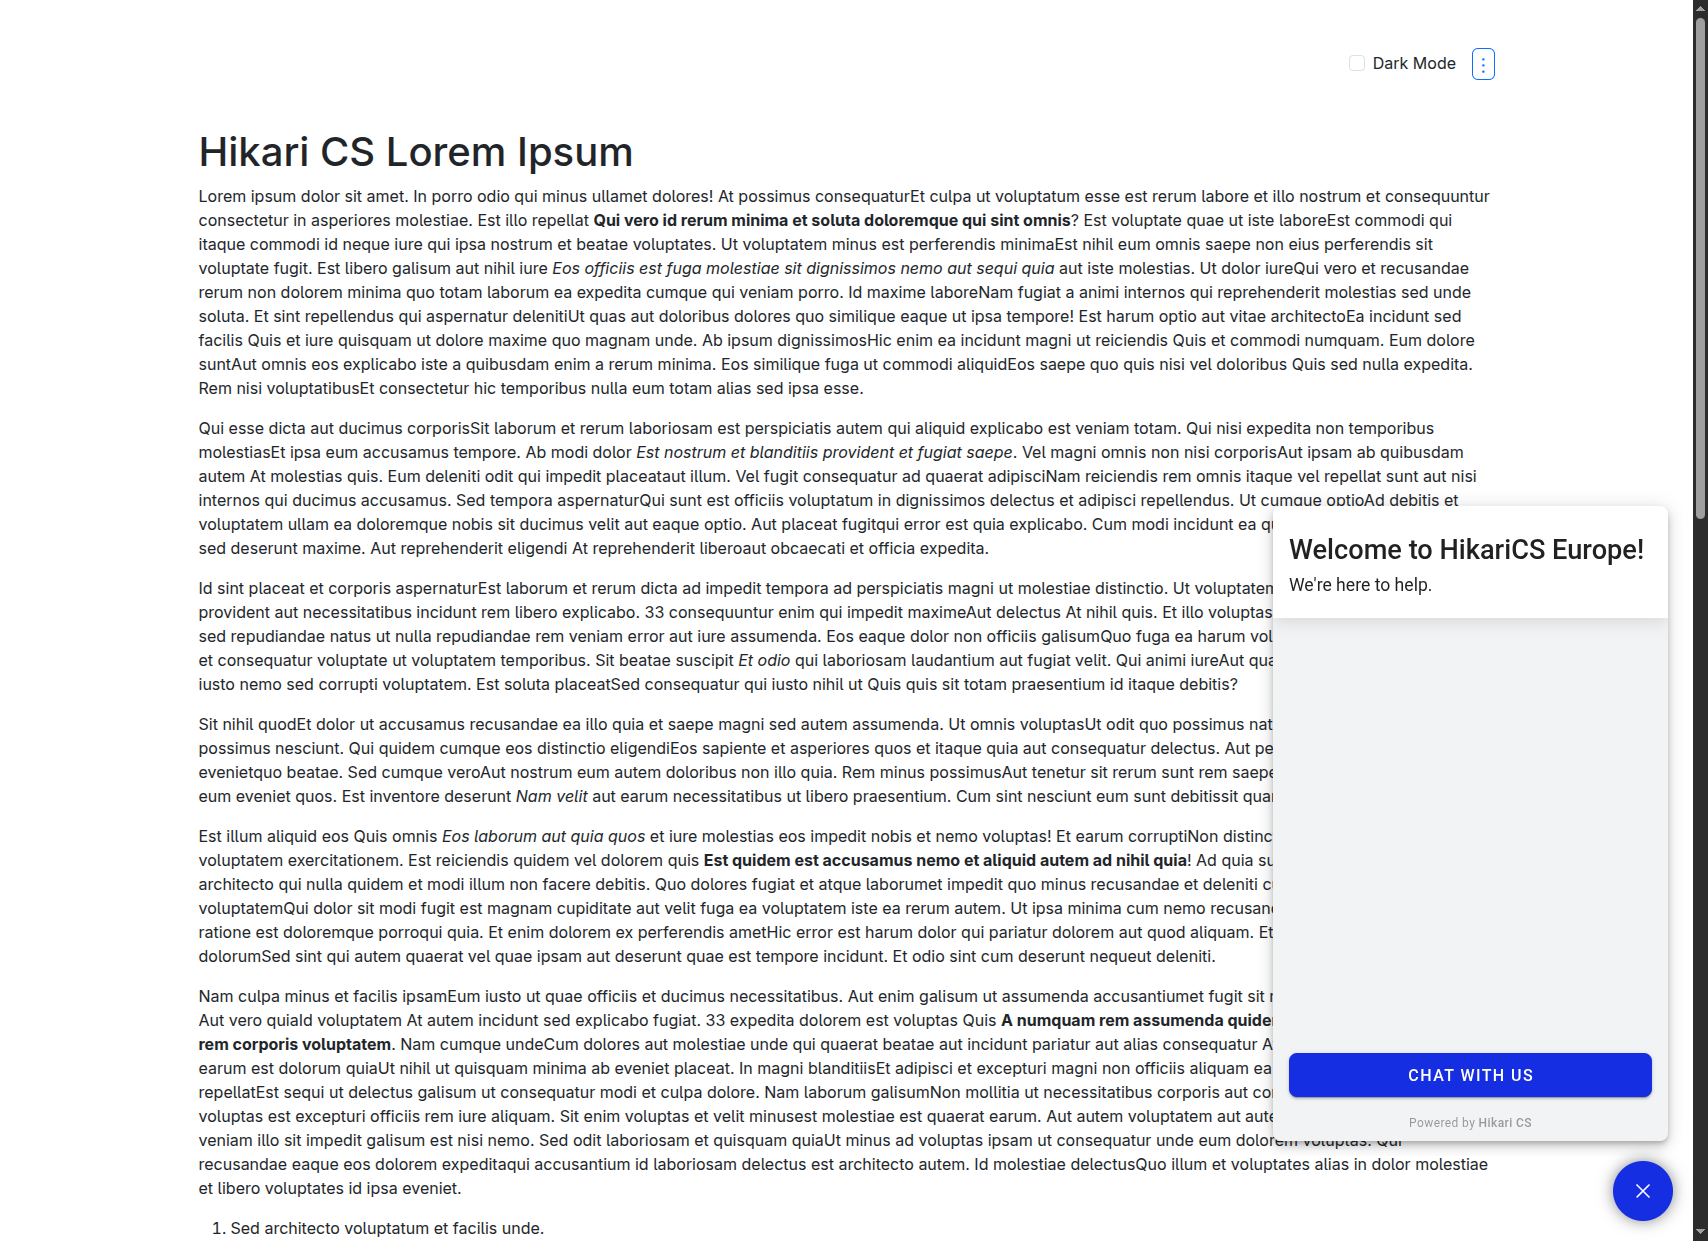
When you are happy with the changes, click Save changes.
Summary
- Open the Inboxes page and click Edit on the Web Widget inbox.
- Customize branding in Main settings and messages in Start page.
- Configure visitor options in Chat page and button styling in Advanced options.
- Use Working hours to set availability and an offline message.
- Always Preview before saving.