Forwarding email from a Google Workspace Group
Updated at 2025-03-19
Using groups to receive customer support request
Businesses use email addresses to receive customer queries and the most efficient way to receive those customer emails is to setup a group. Groups have email addresses such support@yourcompany.com.
With a group, every member of that group will receive emails sent to that group. This way you don't have to create individual email accounts that have to be shared if more than one person needs access to this email box.
Why does Hikari CS ask you to forward your support group emails?
To service your customers we need to receive the emails send to your support address (group) automatically. This will allow our service team to receive those requests immediately and help your customers.
What about contact forms on my website?
If you use contact forms on your website, then those submissions will also be sent to an email address you've configured while building the website. This is most likely your support email address. If this is the case, you don't have the change anything. If it's not, then this is a good moment to review where those emails are sent, and if necessary have them sent to the support group email address as well.
Already have a group?
If you already have a group, you can immediately go to step 4 to add the forwarding address you've received from Hikari CS as a member of that group. This will allow our service team to receive and answer all emails sent to your group.
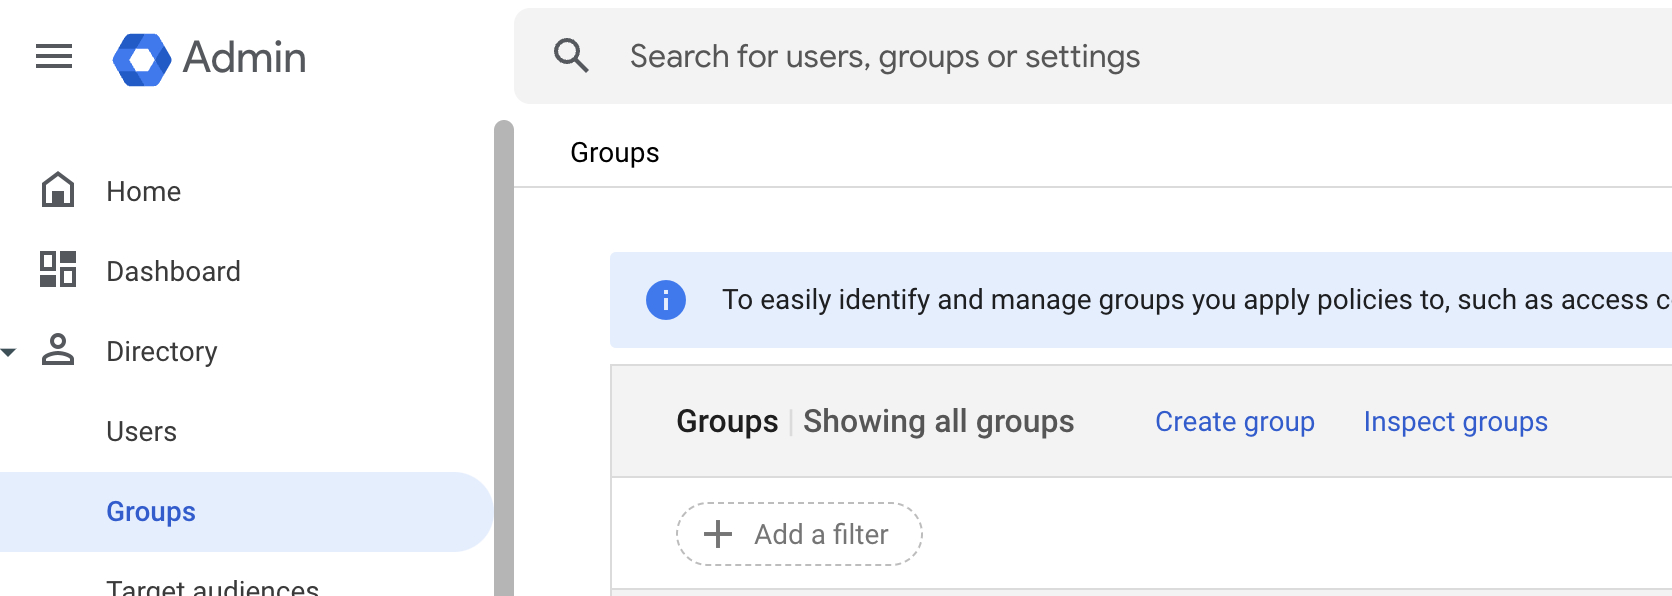
1 Create a Google Workspace group
First go to your admin console, browse to Directory > Groups > then click Create Group.
2 Configure your group's details
Add all the requested information like the group's name, the email address and finally add yourself as an owner.

3: Configure your group’s settings
By default people outside of your organization can't send emails to your newly created group. That's why it's important for our use case to check "External" in the "Who can post" row.
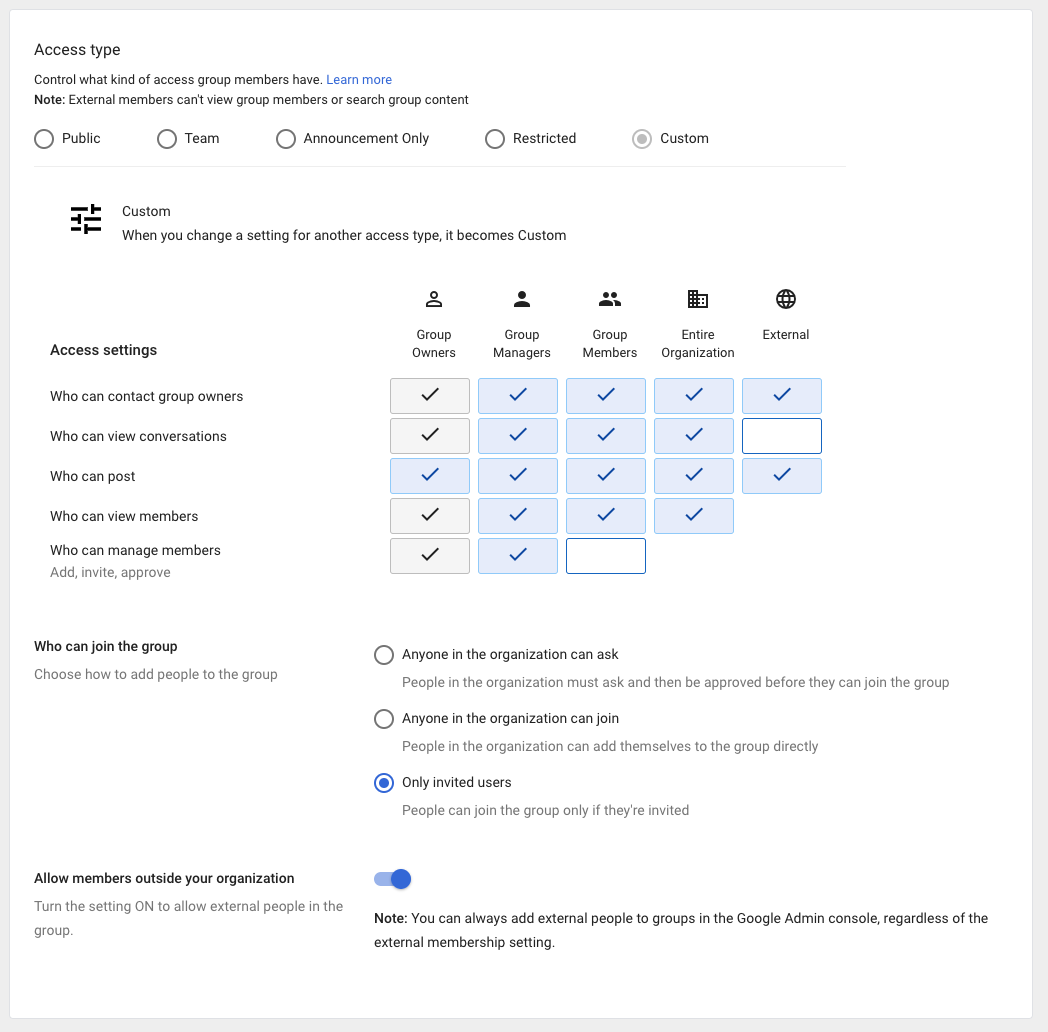
Just below the above screenshot, you can choose who can join the group. We recommend to choose "Only invited users".
Furthermore, make sure to check "Allow members outside your organization" to be able to add a Hikari CS forwarding address later as a member.
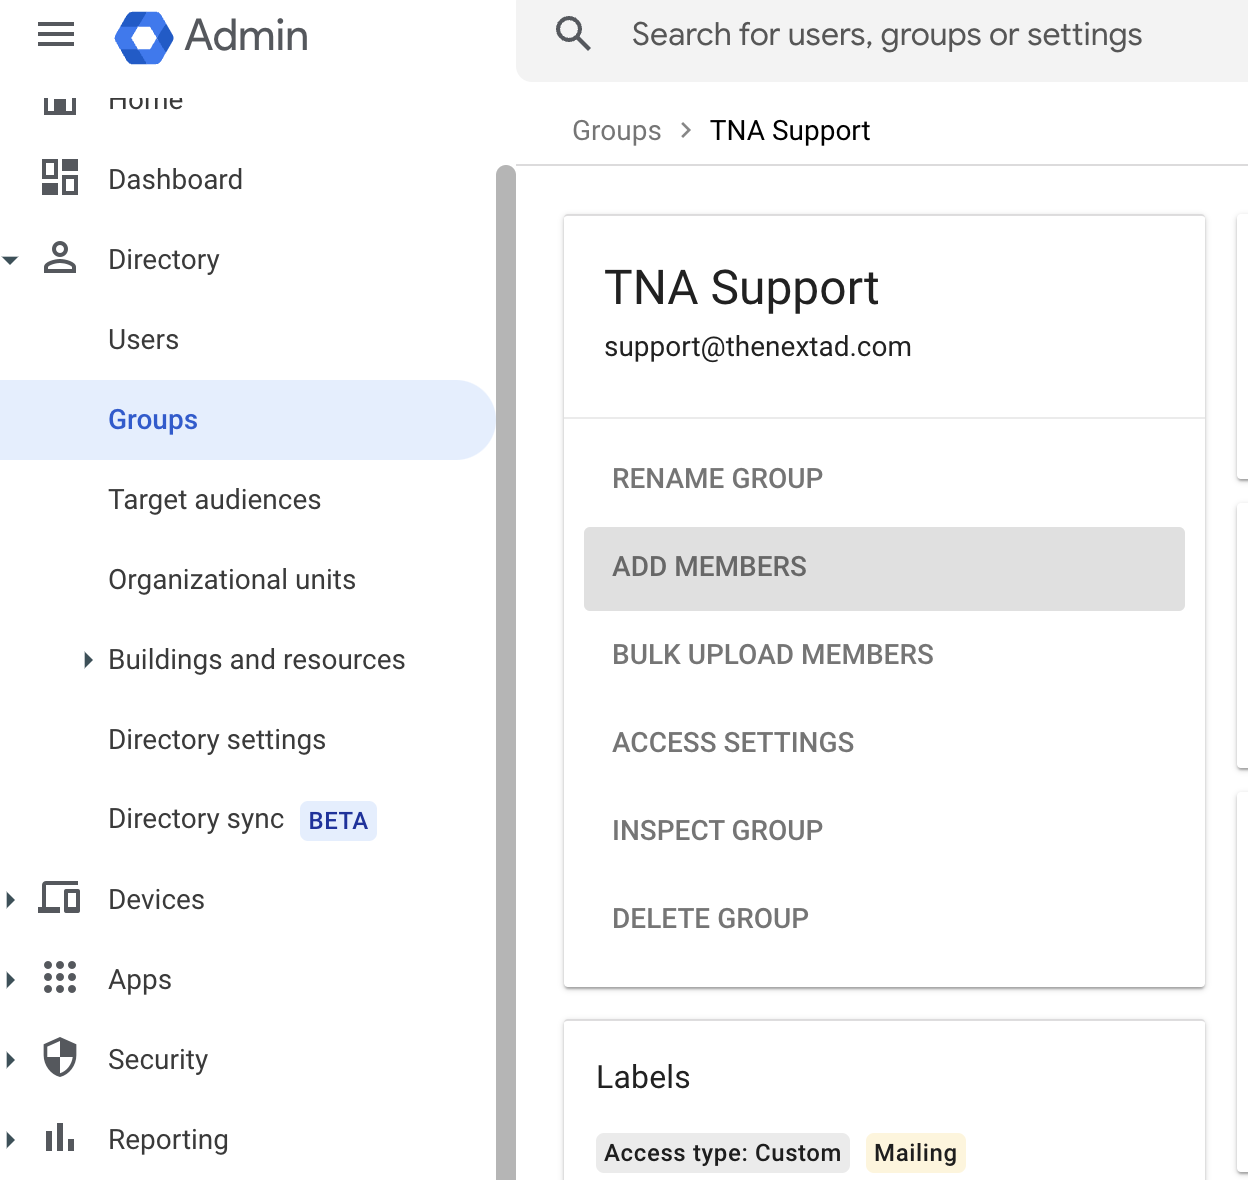
4 Add members to your group
Now you've successfully created a group, you can start adding members to it. Select groups from the left side menu, click your group's name from the list of groups and click "Add Members". Here you can add the forwarding address supplied by Hikari CS to you.
That's it! If you have any questions please feel free to reach out to us and we would be happy to help!