Create custom views for conversations
Updated at 2026-07-26
Views are saved filters that live in the left menu of the conversations dashboard. Use them to jump straight to the conversations you care about — for example, all email conversations, everything assigned to a specific agent, or unread chats from one project.
Create a view
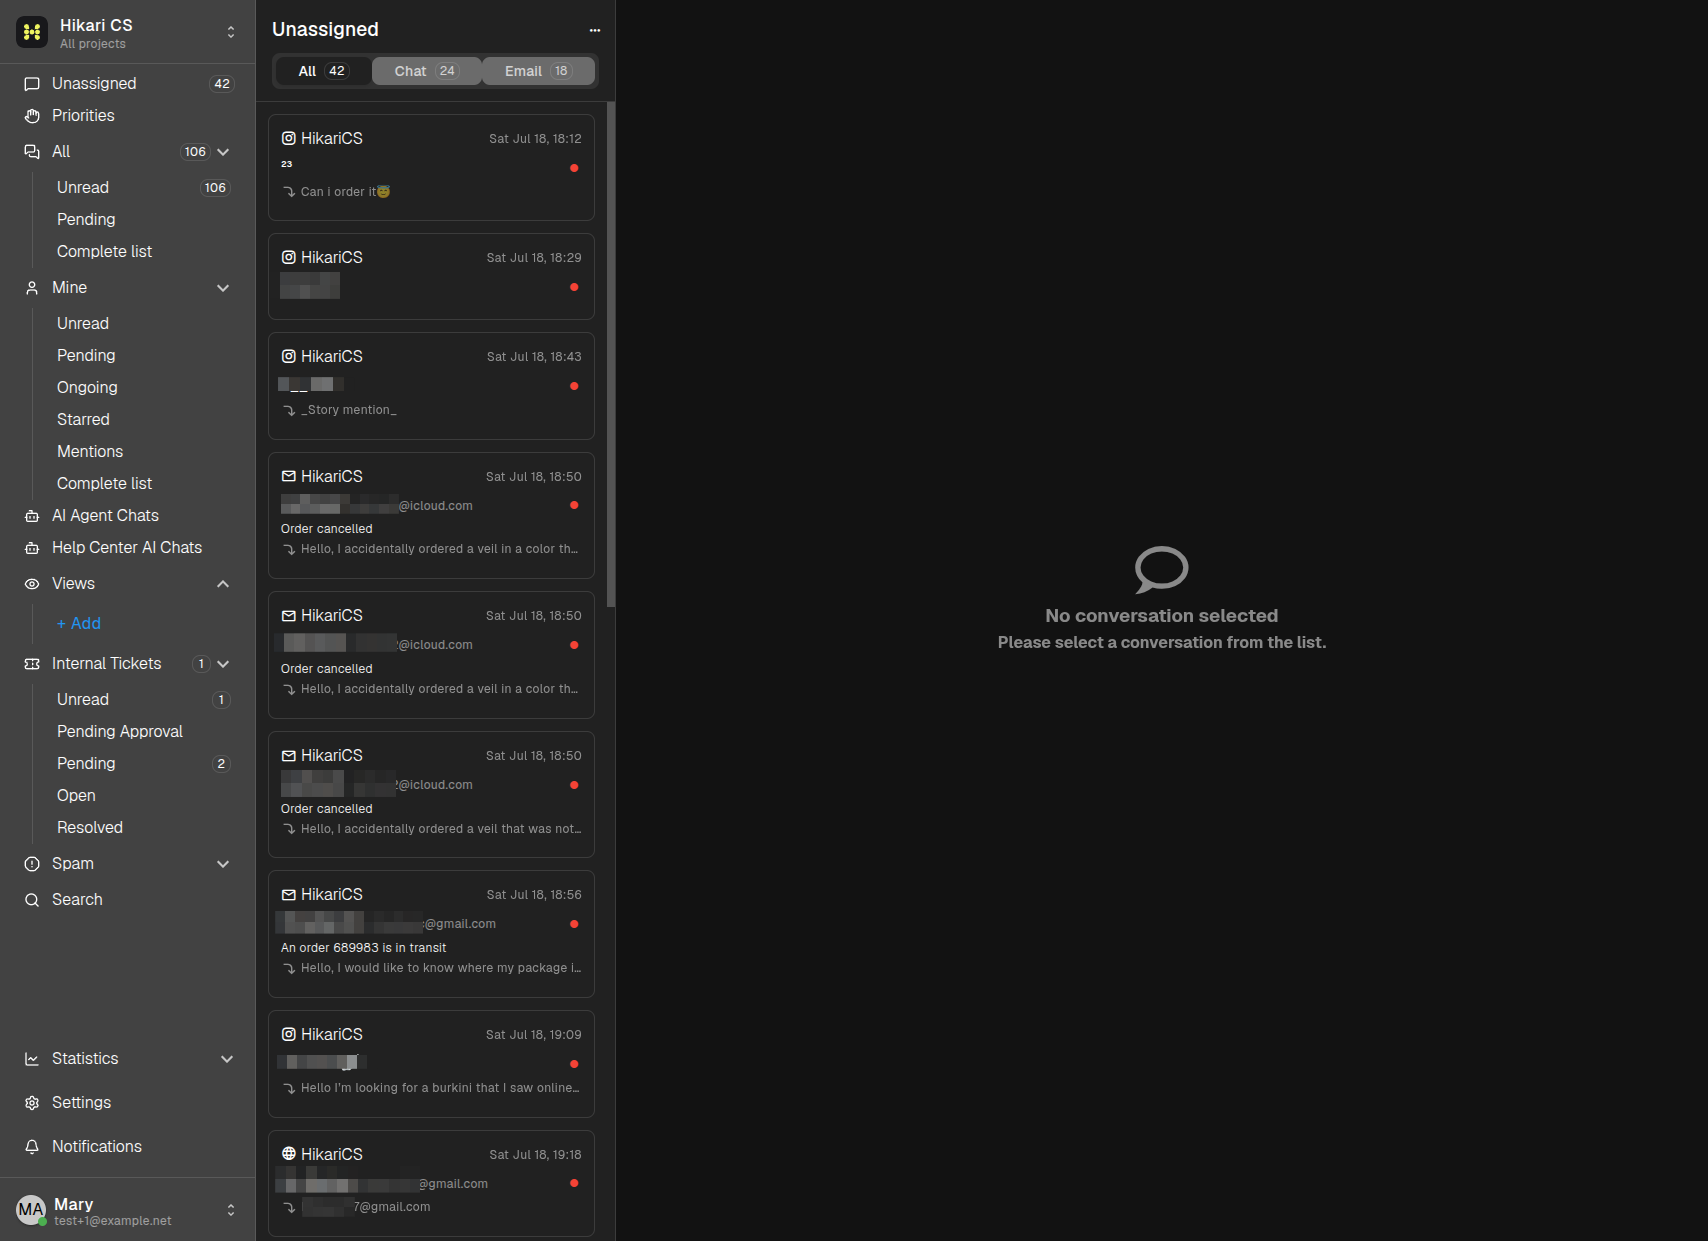
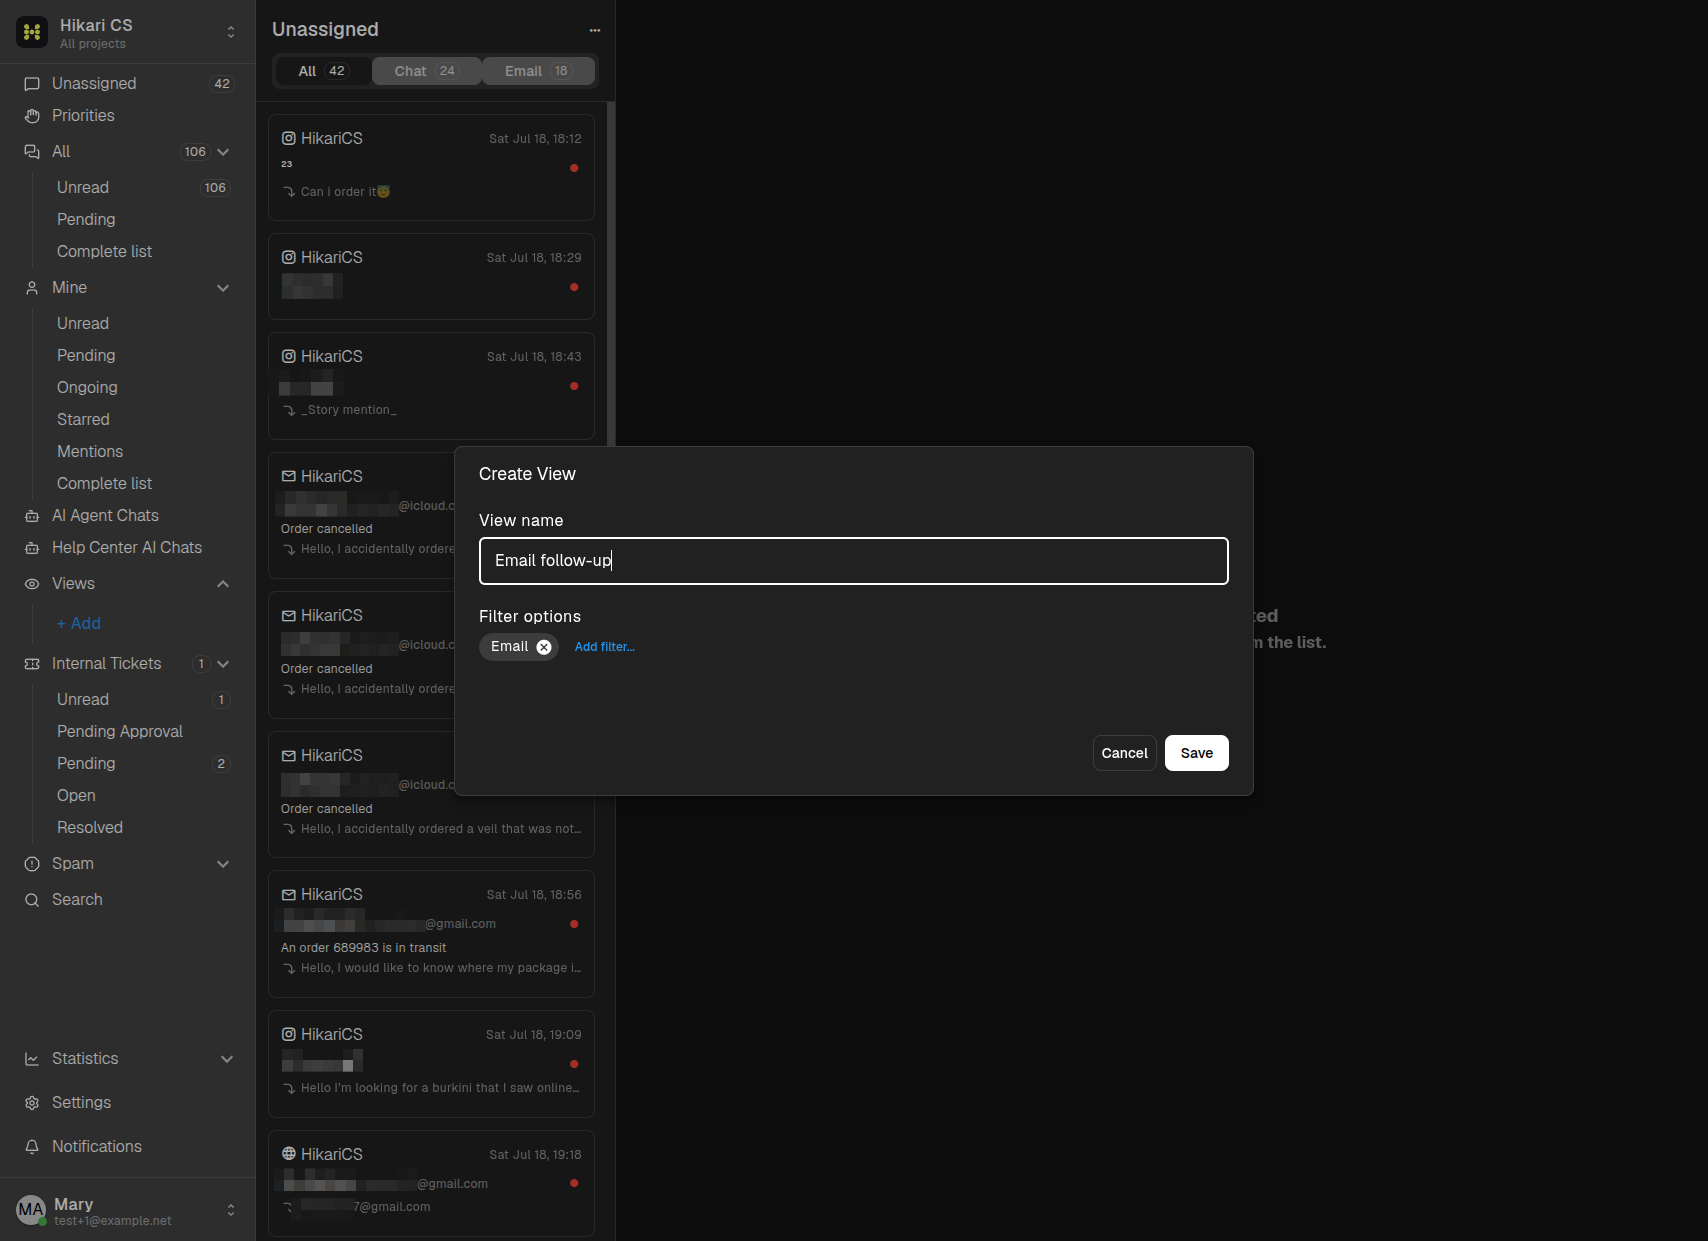
- In the left menu, expand the Views group and click + Add.
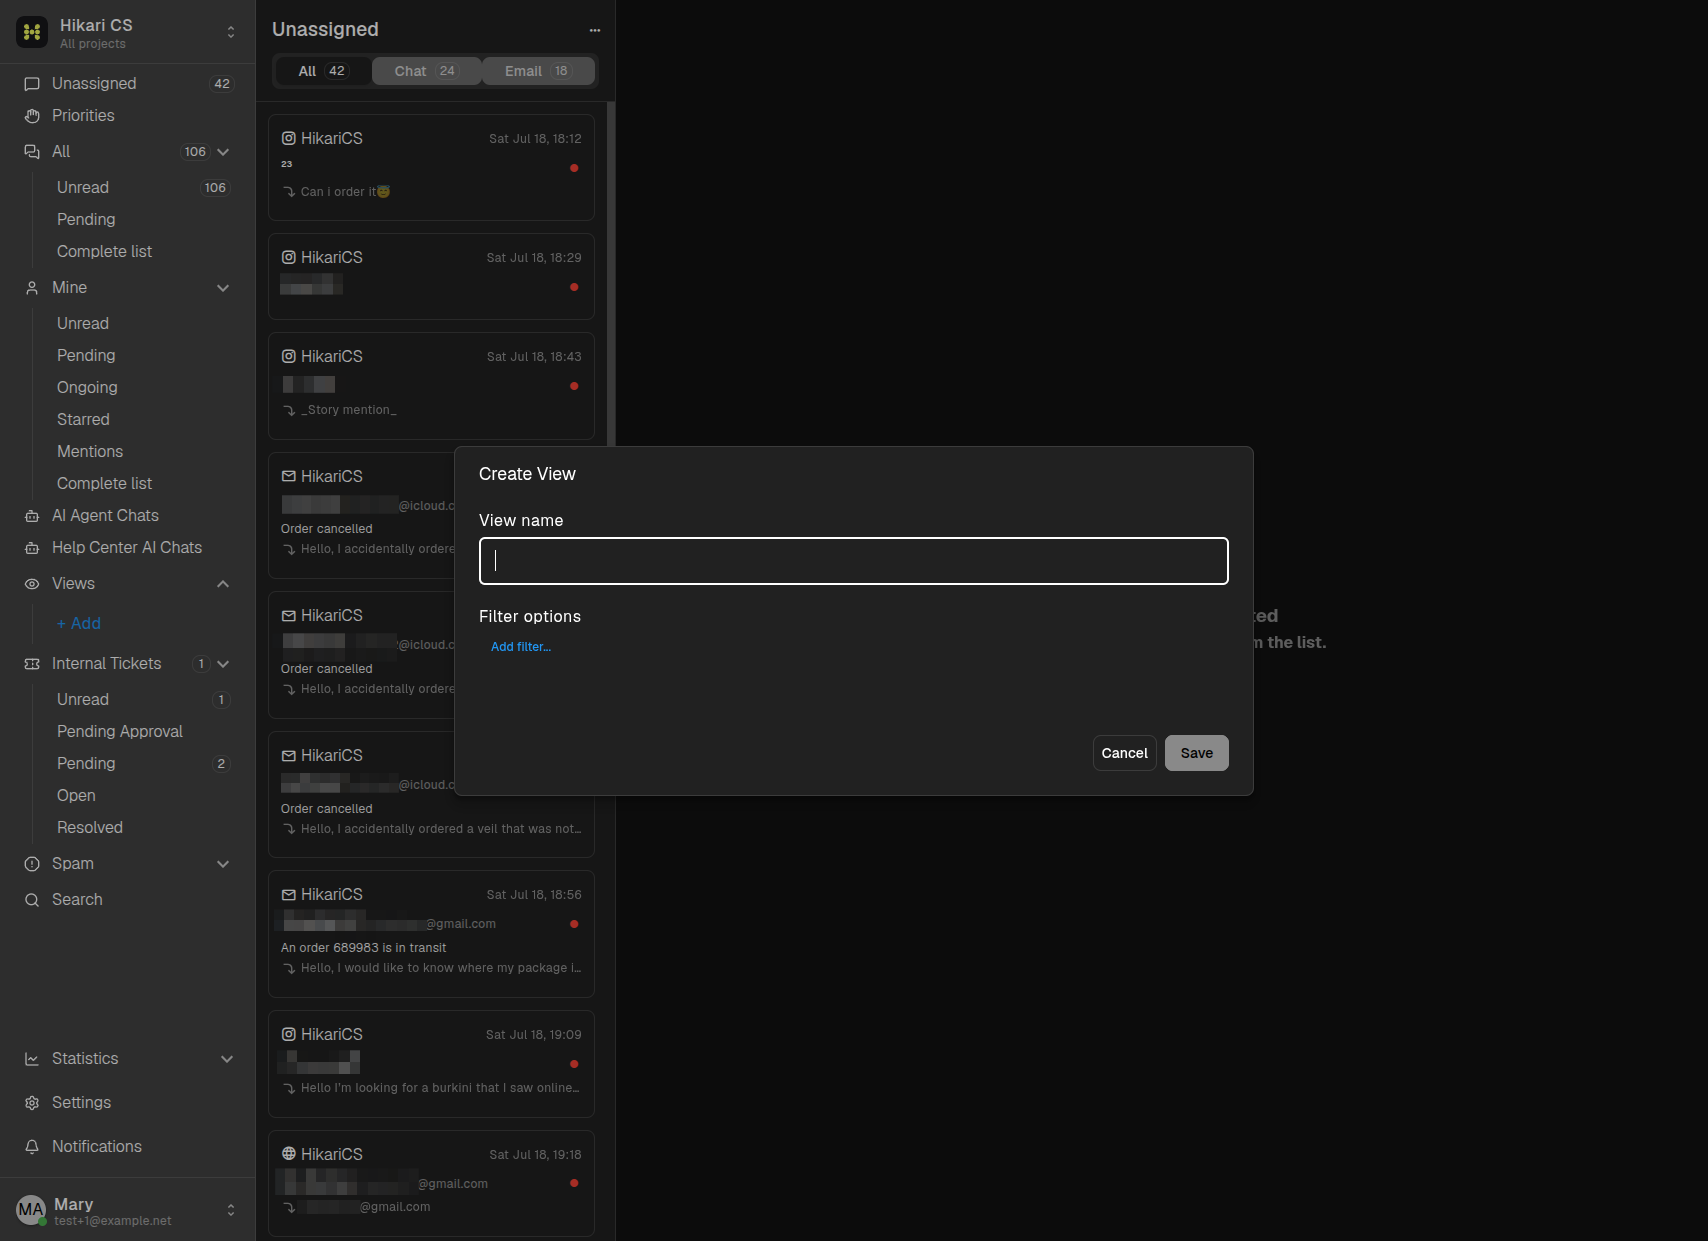
- In the Create View dialog, give the view a name.
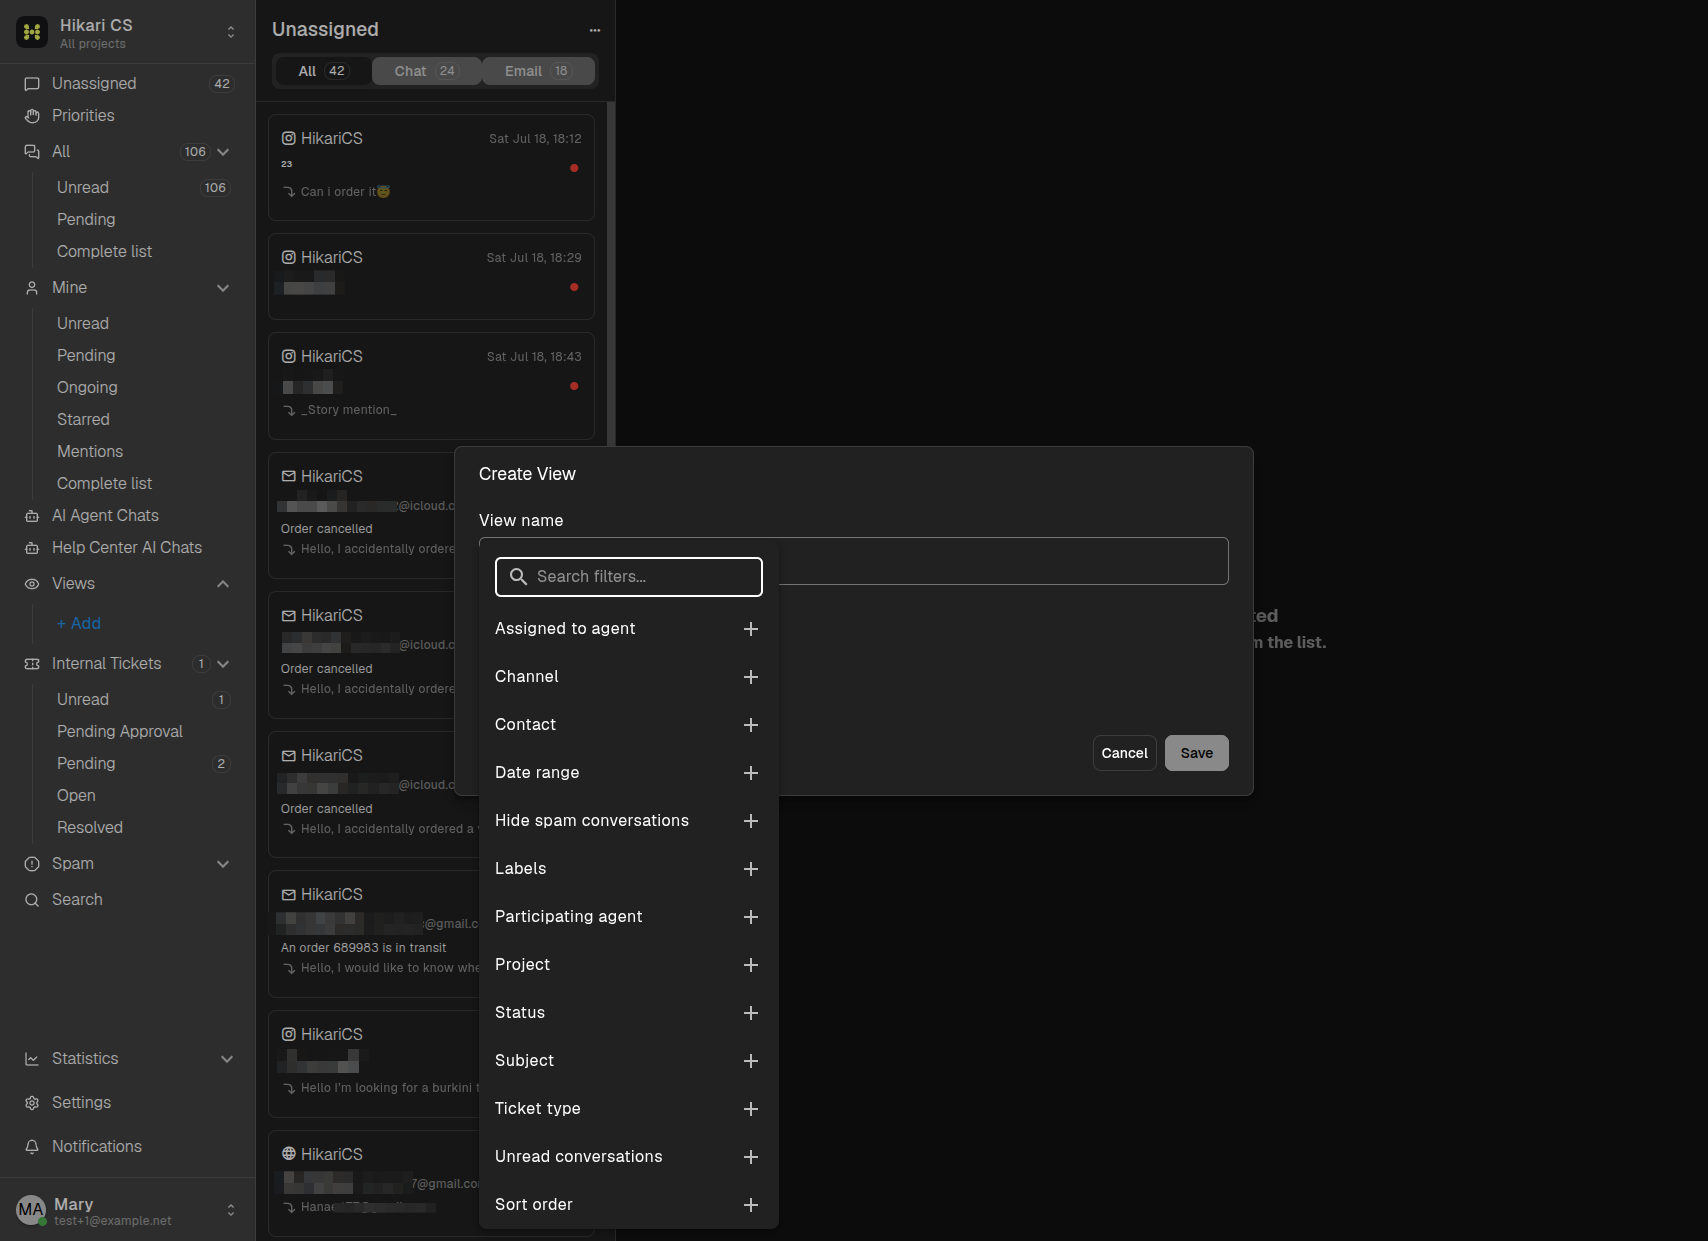
- Under Filter options, click Add filter... and choose one or more filters.
You can combine as many filters as you need:
- Assigned to agent and Participating agent
- Channel (Chat, Email, Instagram, Messenger, Customer email)
- Contact
- Date range
- Hide spam conversations
- Labels
- Project
- Status
- Subject
- Ticket type
- Unread conversations
- Sort order
- Click Save.
Use a view
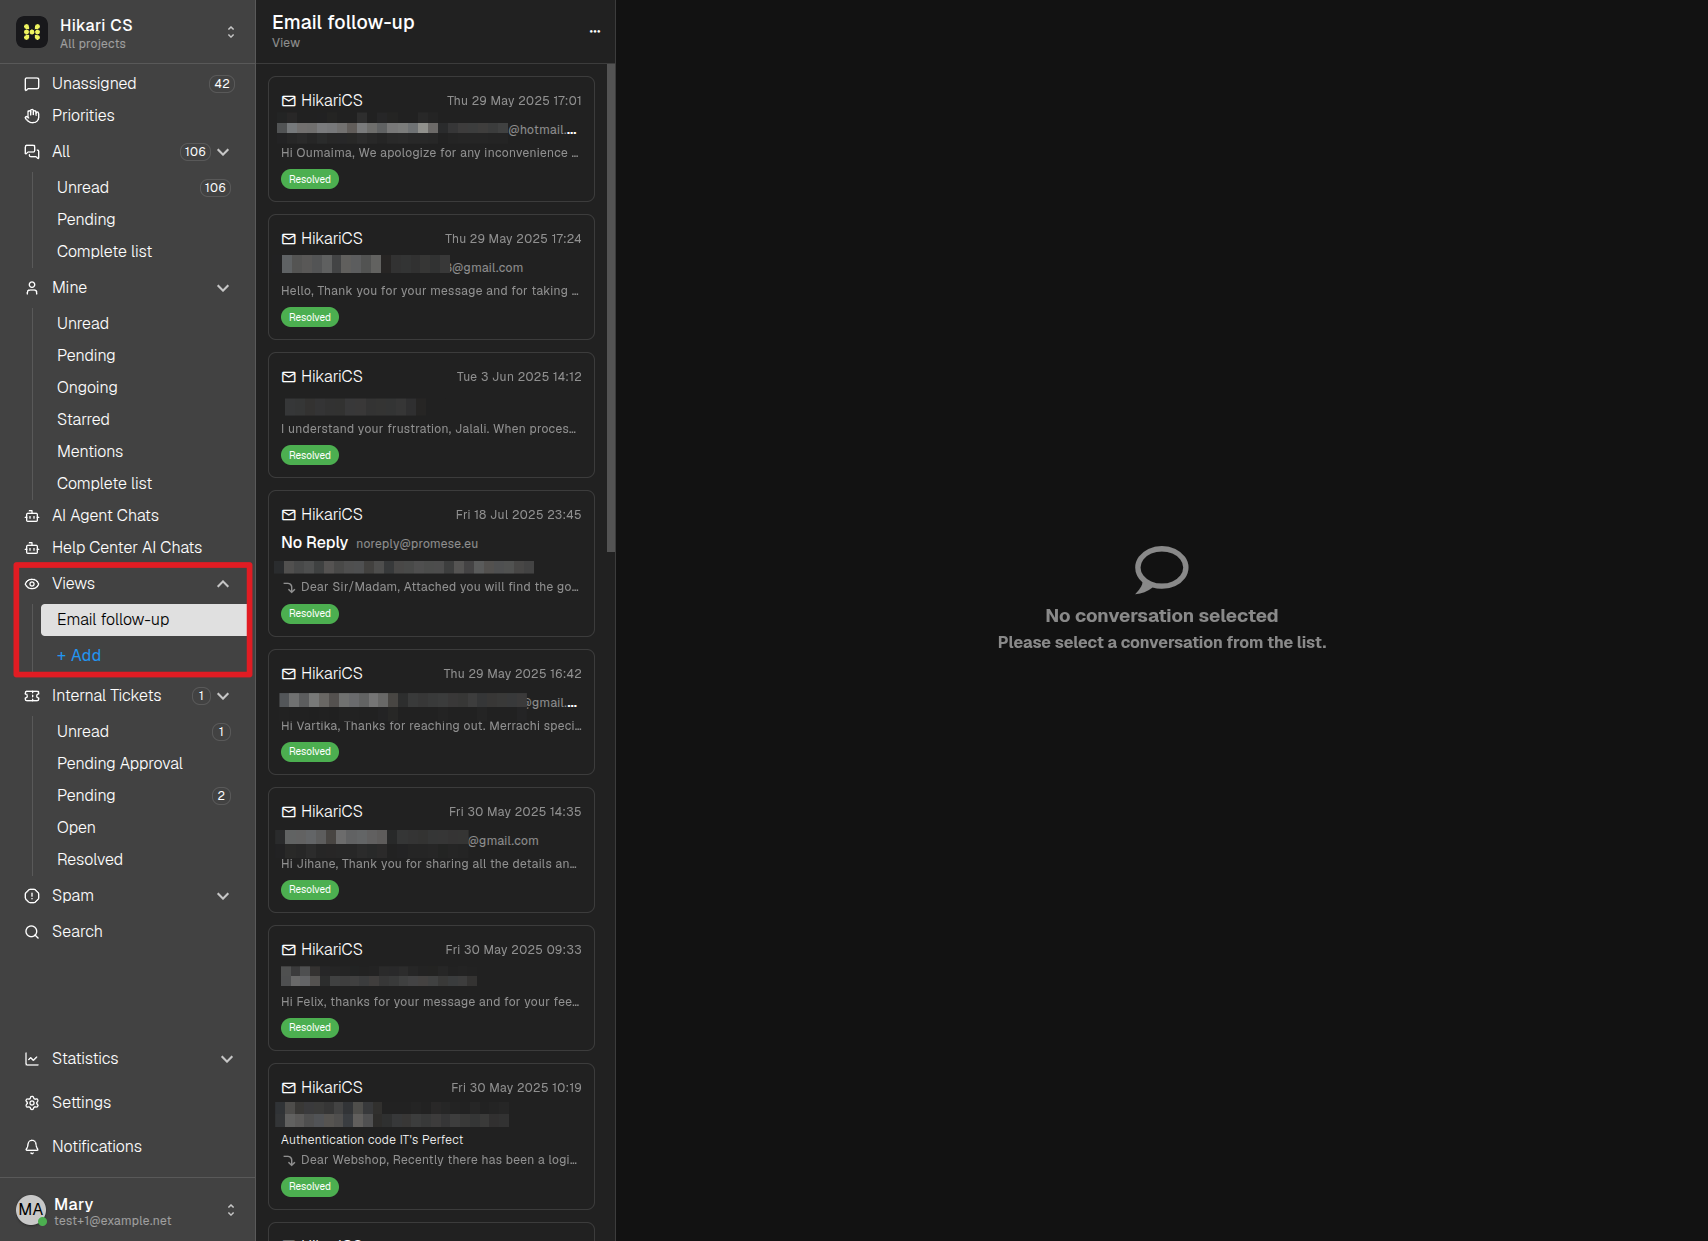
Saved views appear in the left menu under Views. Click one and the conversation list instantly shows only the conversations matching its filters — the list title shows the view name.
Edit or delete a view
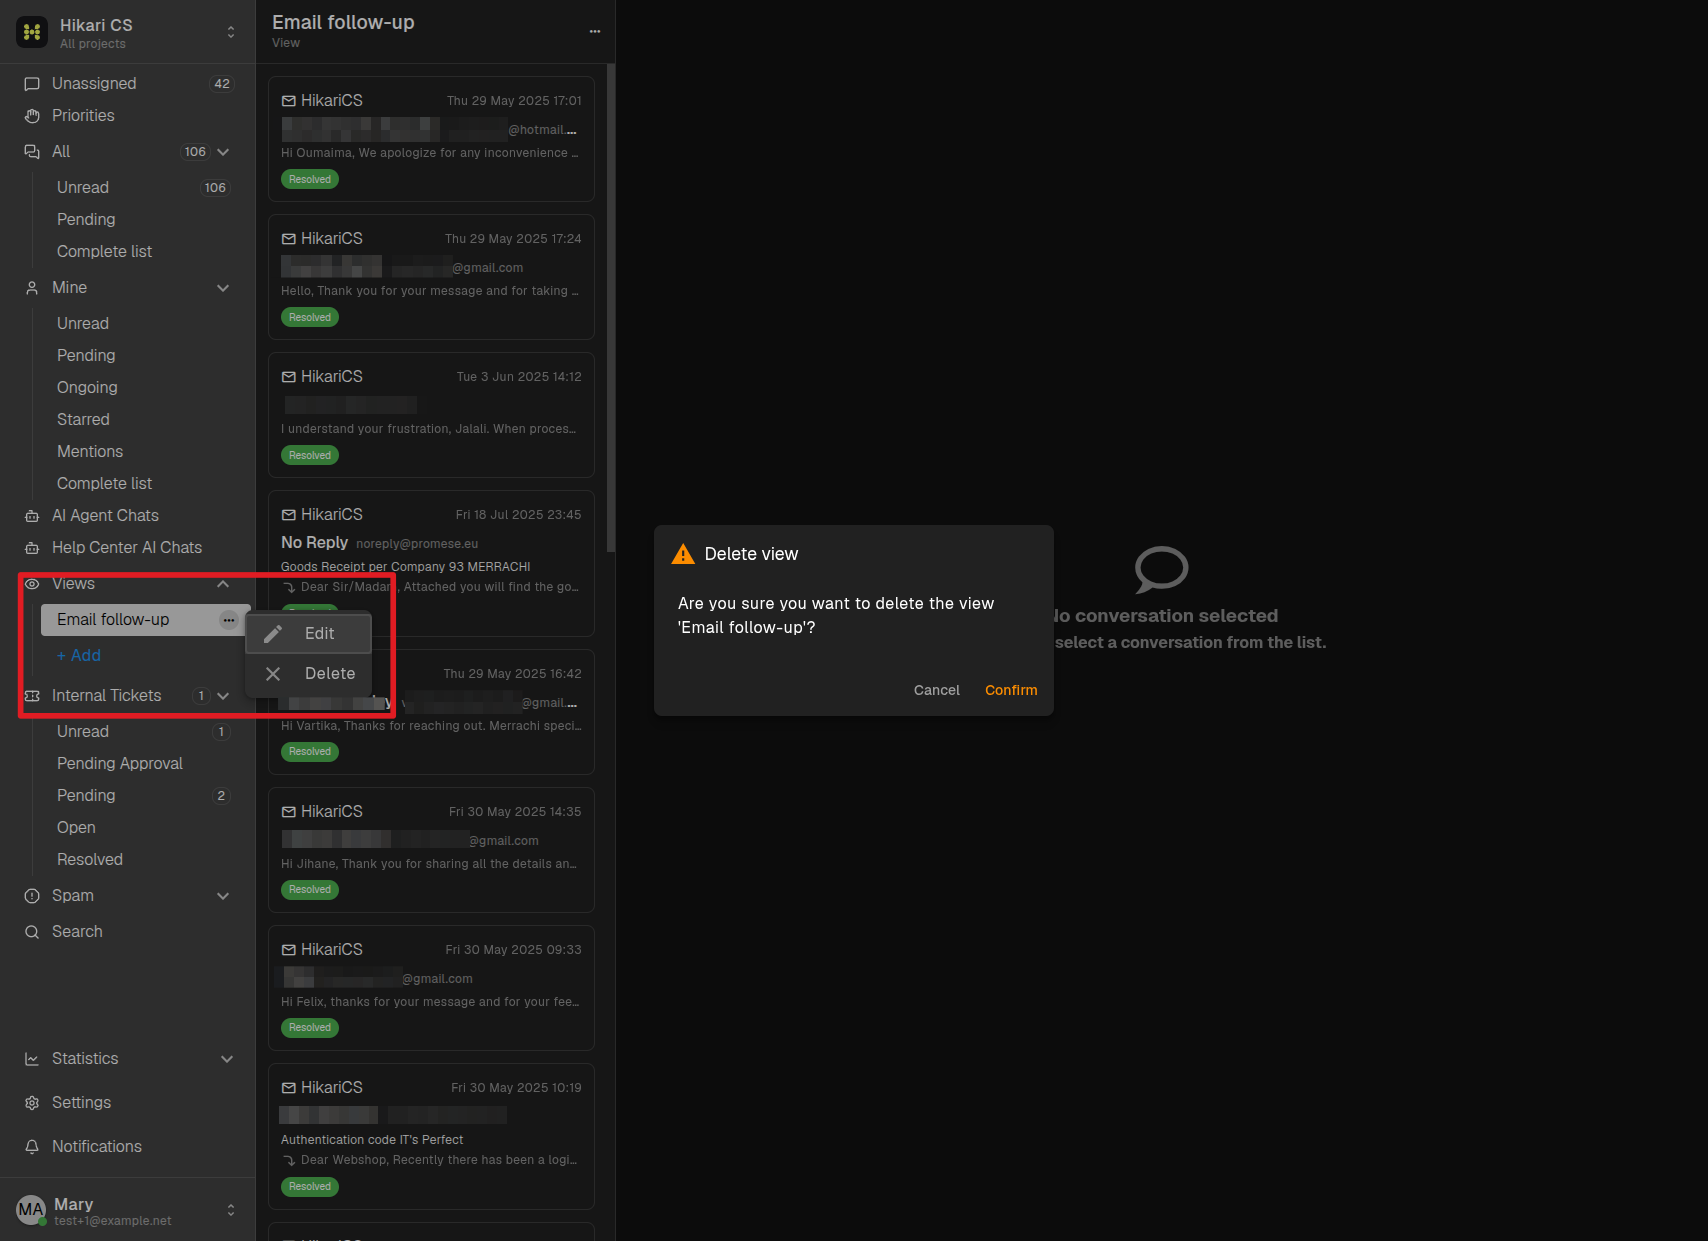
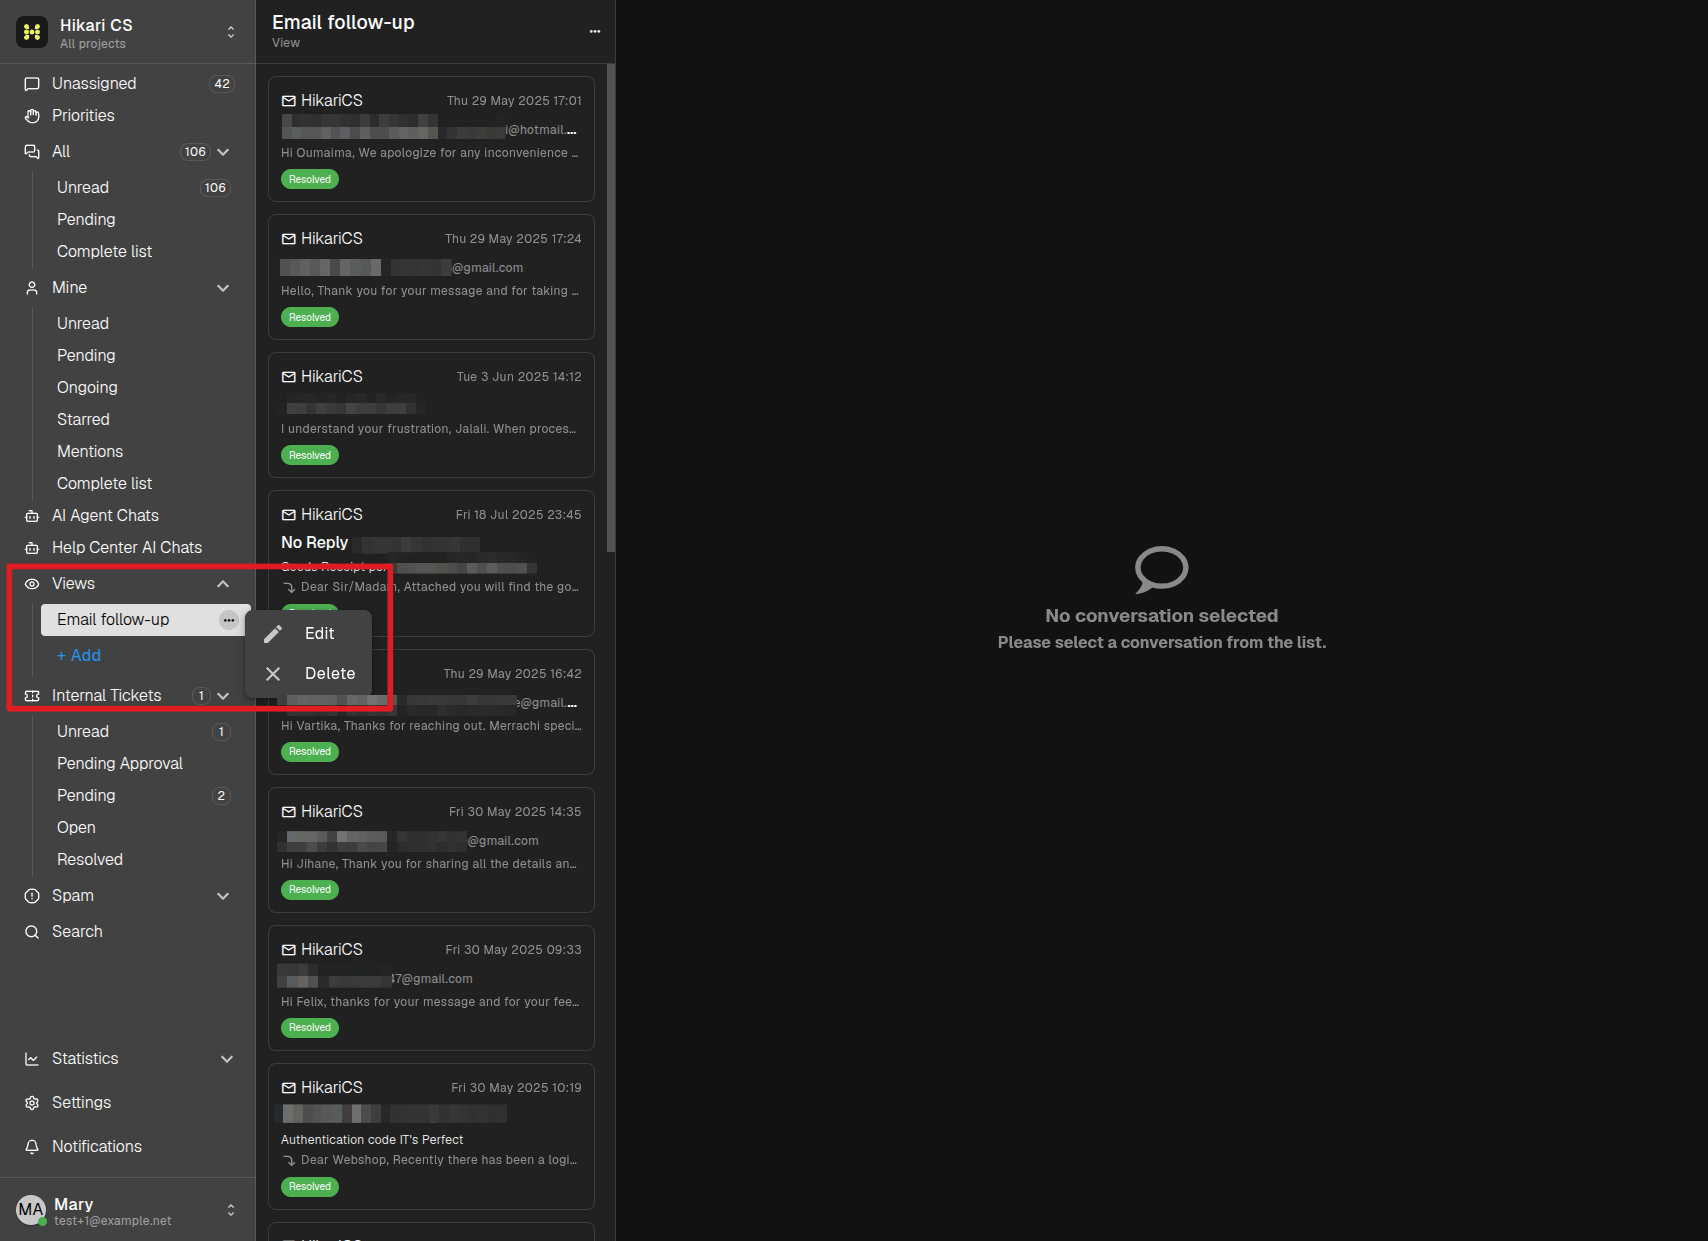
- In the left menu, hover over the view.
- Click the three-dots button that appears.
- Choose Edit to reopen the dialog and change the name or filters, or Delete to remove the view.
Deleting asks for a confirmation, and only removes the saved filter — the conversations themselves are not touched.